How To Remove The Shadow Around macOS Window Captures
The macOS Screenshot application has the ability to capture a screenshot of a
specific window, either by selecting the Capture Selected Window option
directly from within the Screenshot application or by pressing
Command+Shift+4 followed by pressing Space. Unfortunately, these
captures produce an image with an ugly shadow effect around the selected
window:
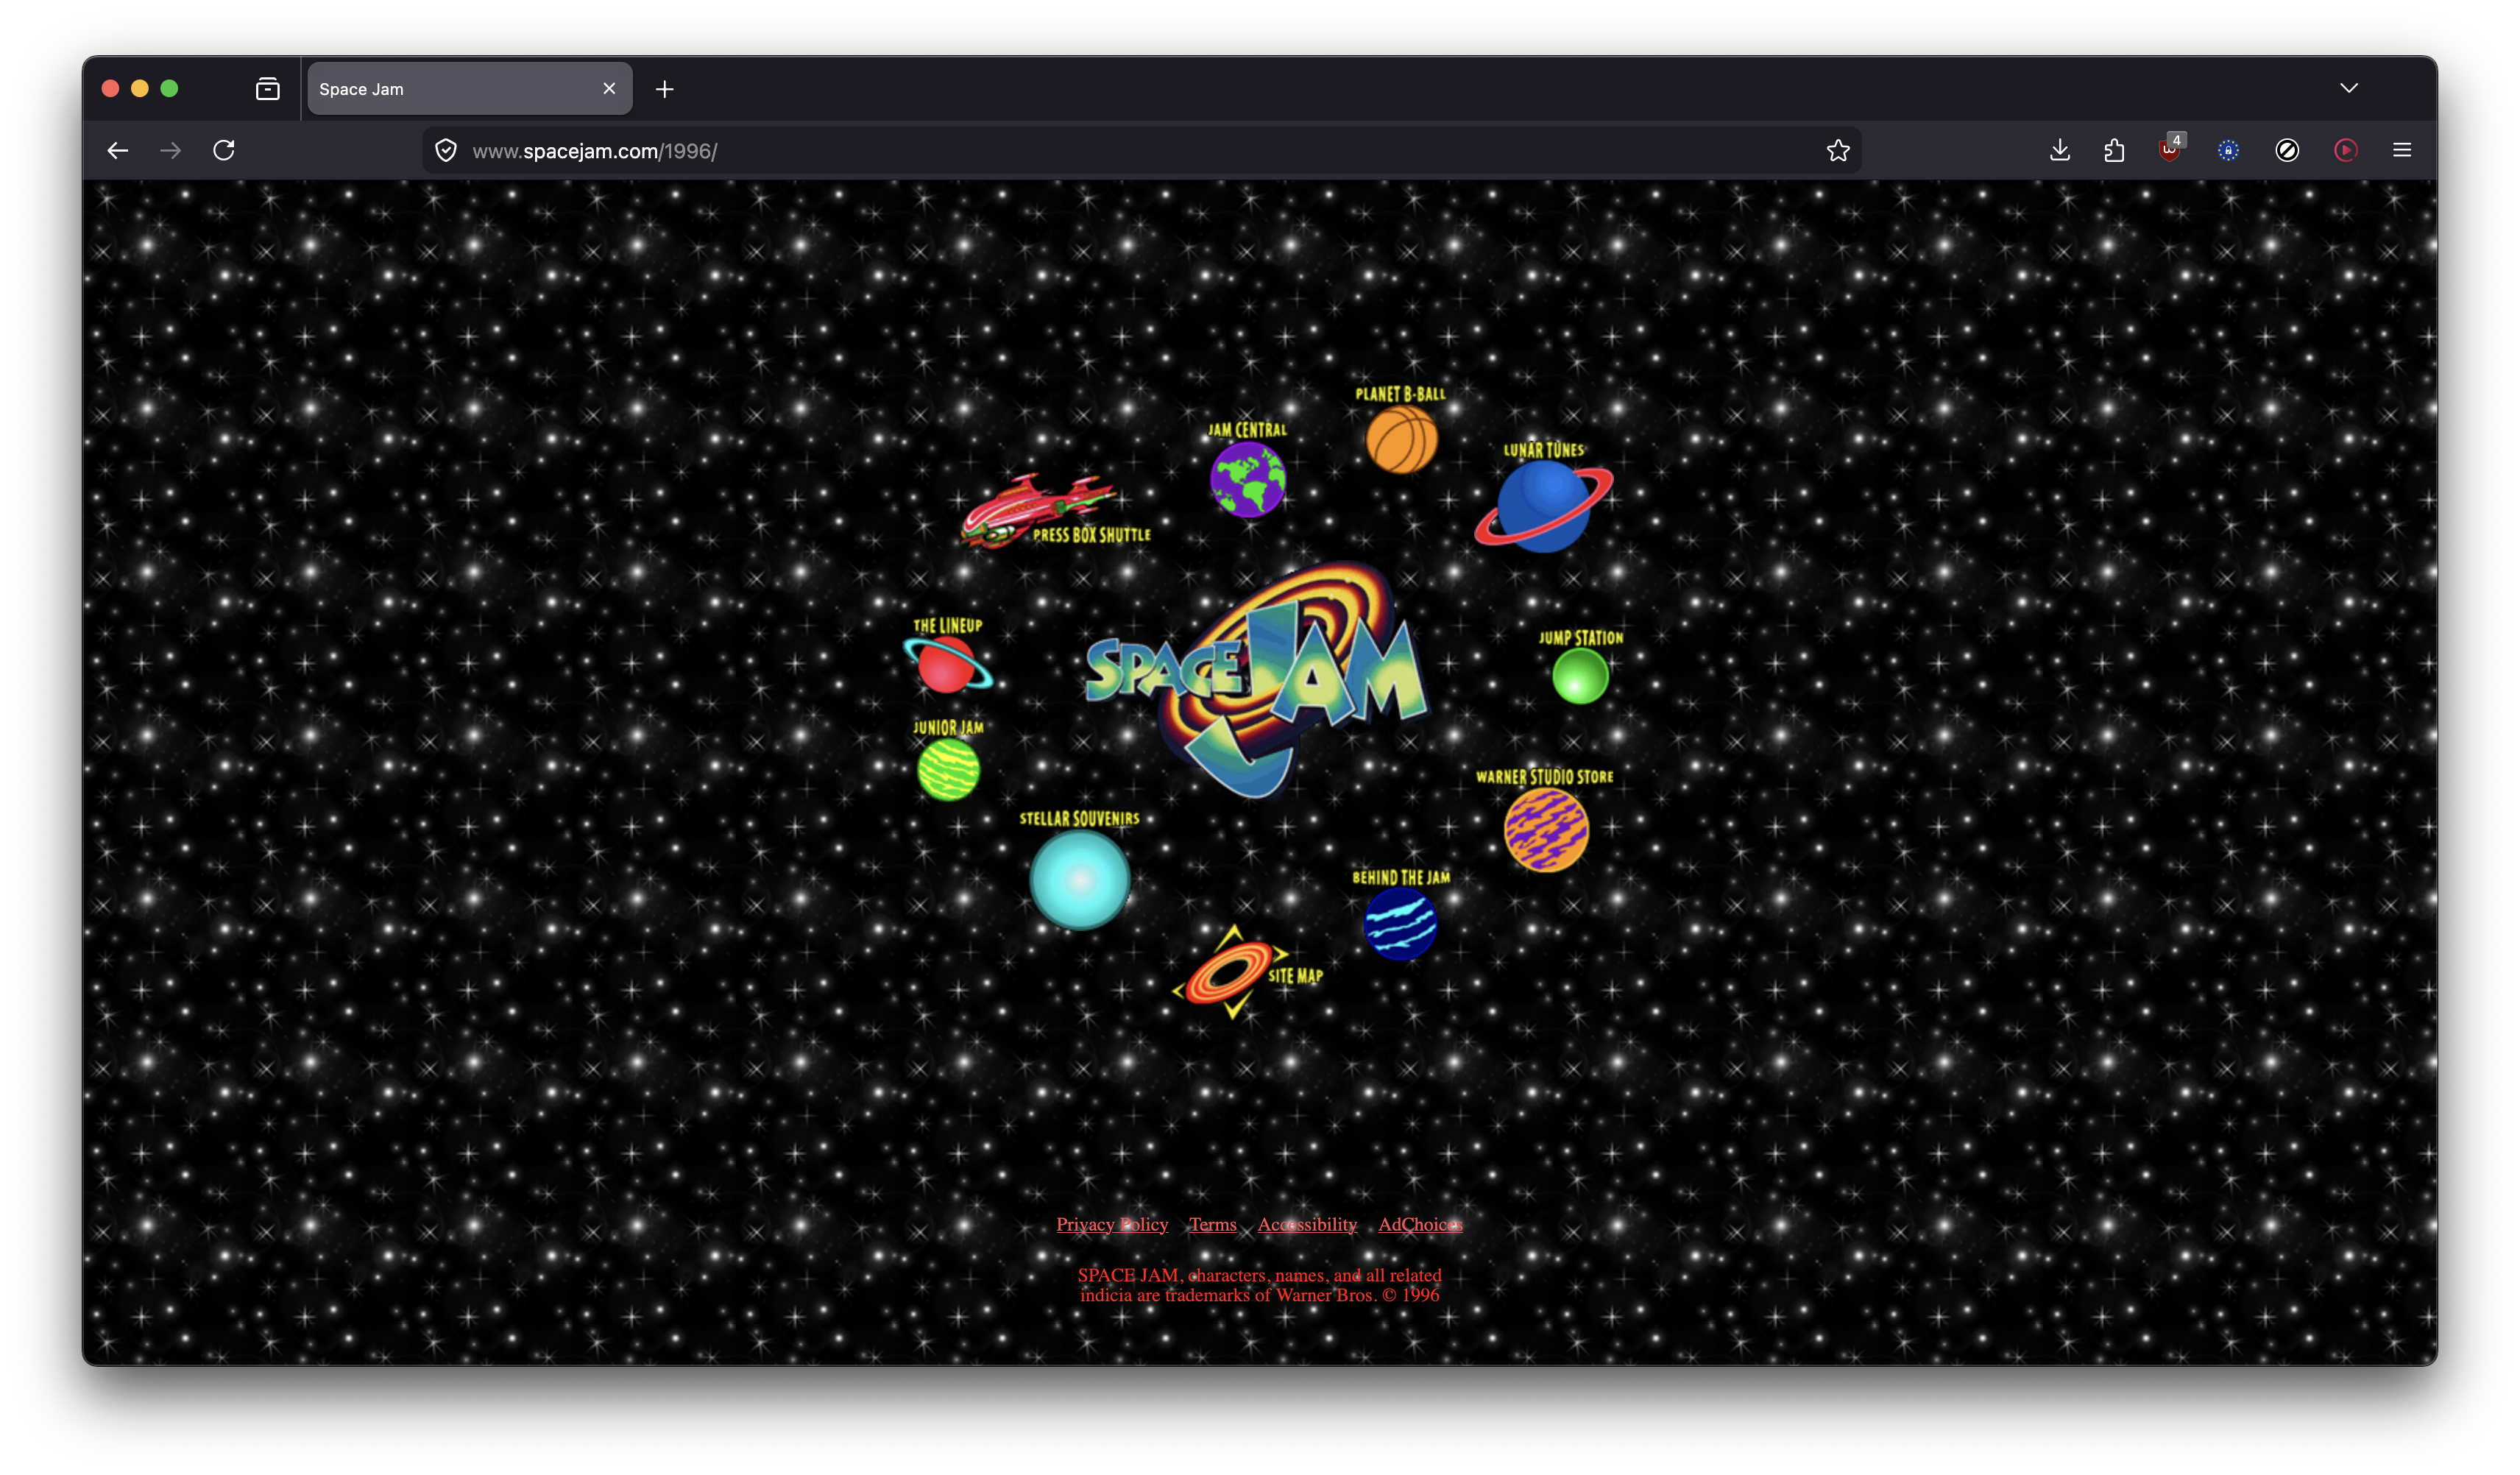
It is somewhat difficult to see, because the resulting PNG file has a transparent background. The shadow effect is easier to see if we place the image on a white background.
To disable this shadow effect, open a terminal and execute the following:
defaults write com.apple.screencapture "disable-shadow" -bool "true"
After executing that command, window captures should not longer have the shadow effect:
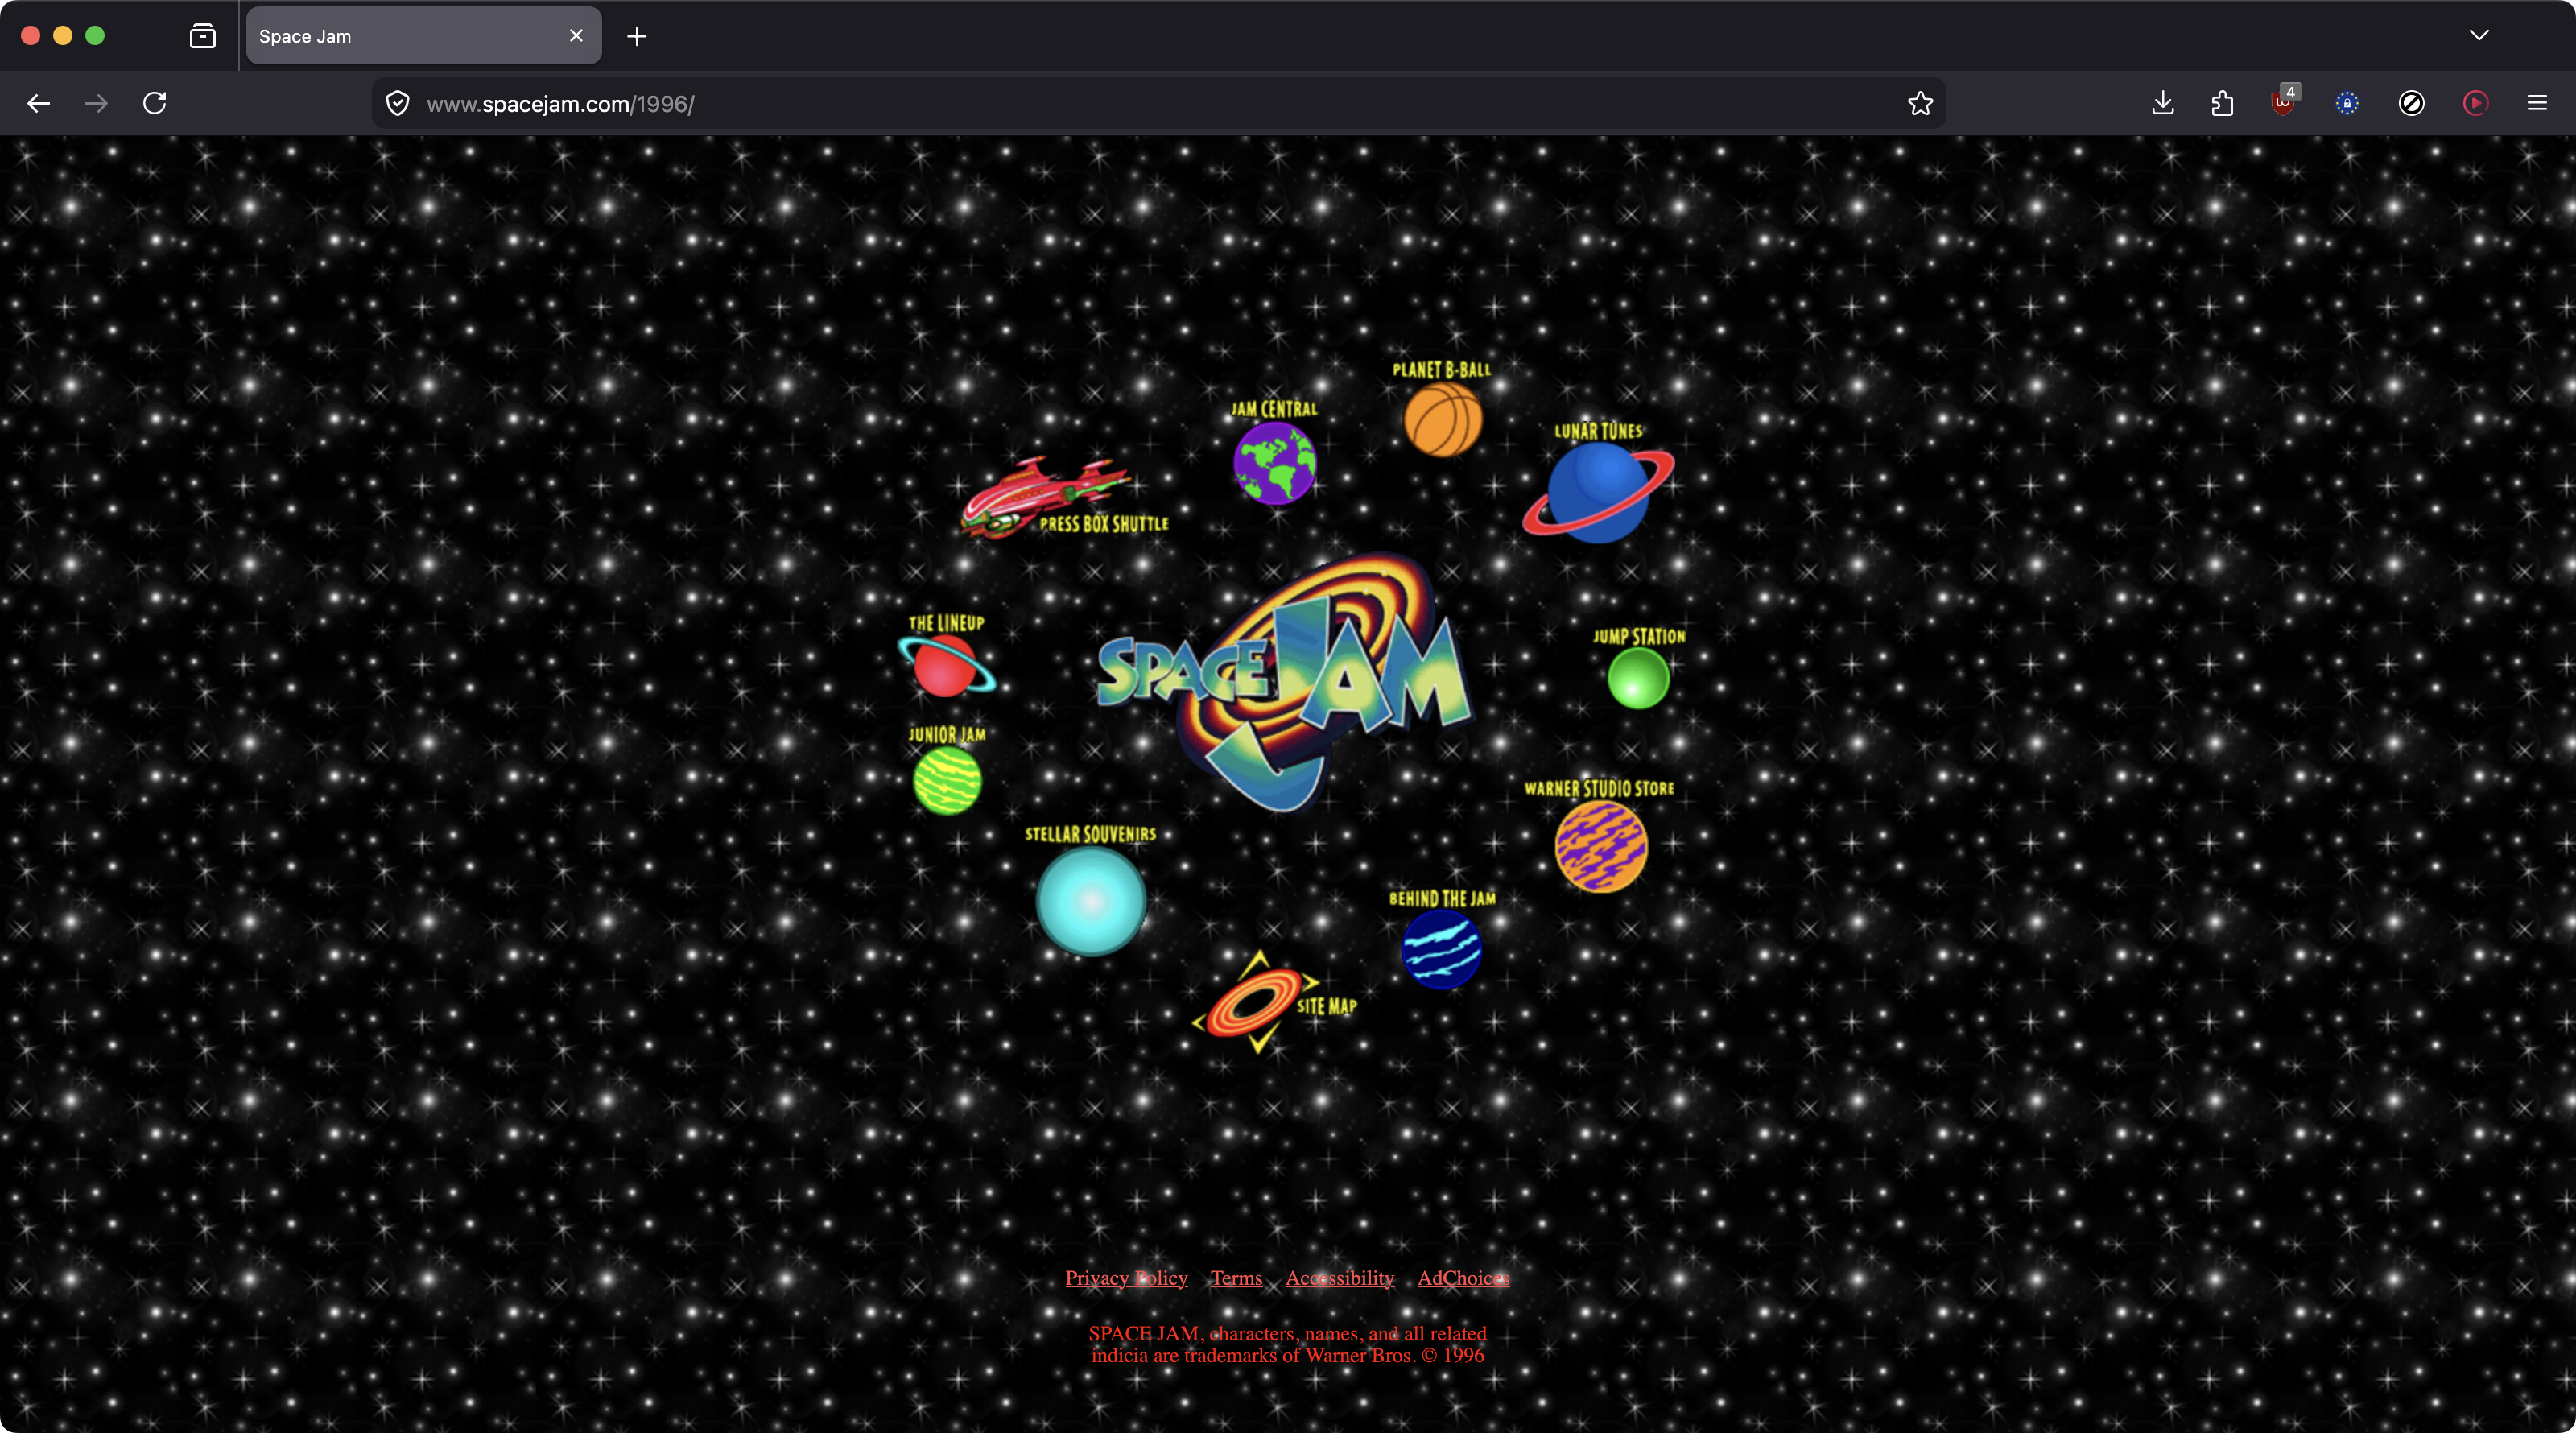
As a bonus, disabling the shadow effect will also remove of the huge sections of empty transparent space around the window! Ahh, much nicer looking. 😊
To re-enable the shadow effect, open a terminal and execute the following:
defaults write com.apple.screencapture "disable-shadow" -bool "false"